
Lemon-Scented Pull-Apart Coffee Cake

As most food blogger out there, we collect recipes from all over. We print them out, we bookmark them, we tear them out of food magazines, we earmark them with post it on cookbooks and soon, before you know it, we have a cooking TO DO list.
Mine is pretty long, and pretty overdue.
I had this recipe in my list for quite a while now. I found it via Leite’s Culinaria website a couple of months back and printed it and saved it for that moment in time where I would totally have the nerve to tackle it.
Anyhow…
At first the recipe scared me; it had yeast and needs kneading, and the use of a rolling pin! Three things that I’m not good at using or doing. I made bread before – it was a traumatic experience and decided to stick to things that I’m good at, like cake and complicated savory dishes. Anything that has yeast in it has a life on its own and I’m a control freak so that is not a good combination - I know how to choose my battles, and bread is a higher power – so I stay away.
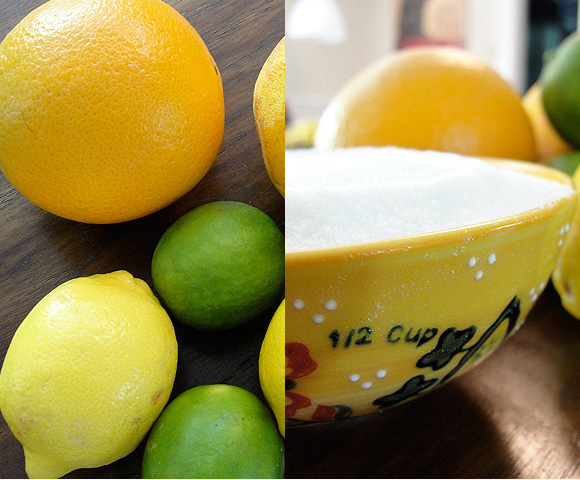
But this recipe was just too tempting. Sweet dough, sprinkled with sugar infused with orange and lemon zest, topped with a tangy cream cheese glaze. I mean SERIOUSLY? This is temptation at its best. I had to do this, it had way to much appeal.
So, I put on my apron and counted to 10 and made a mess but then at the end…
… Heaven open and the angles sang… and oh, wait got side tracked…
Yeast, kneading and rolling pin - Got news for you guys – YOU.HAVE.BEEN.CONQUERED!
Nothing can stop me from making this little gem again and again. I have made four of them so far (in less than 2 weeks). After the scary first one, the next ones are so easy; you won’t be scare no more. Trust me.
I don’t think it’s really a coffee cake, but a “loaf” and “bread” does not do it justice either. As Tom put it “it’s simply lip smacking”. I could not agree more. The art of peeling off layer upon layers to bite into fluffy, sweet, soft buttery bread saturated with citrus flavor and smoother with the cream cheese icing that melts into the ridges, creating a sweet, sticky mess is fantastic.

Plus it’s so sinfully tasty, so delicious in fact, that you will not be able to keep this around for more than a day. Or an hour, depending on how many hungry people live with you and are NOT WILLING TO SHARE. (I’m looking at you Tom!).
So head over and print the recipe. Read it (highly recommended - since it is a bit long) go to the supermarket, get the ingredients and then run back to your kitchen and do it, do it, do it!
Now!
You won’t be sorry.
Here a couple of tricks that I have learned along the way:
The recipe is long and detail with lots of instructions – it’s not difficult, but it is a bit time consuming - so plan ahead.
Read it! Not once, not twice, but 3 times, and since there were no step-by-step pictures on my initial print out I did not have a handy point of reference. The second time around, I used the internet and found these two sites: Lola from The Mansurovs has step-by-step pictures of the whole thing. And Manggy of “No Special Effects” does something better and provide his readers with a cute funny diagram – which I totally printed and pasted in my cook book next to the recipe for a handy cheat-sheet.

Beware of the consistency of the dough - it was much more fluid, almost like batter, and fairly sticky. I added a bit more flour than the recipe called for just so I could work with the dough but overall I followed the instructions.
It was hard to tell when the loaf was actually finished. I baked it for 30 minutes until the top was golden brown, but the very center still had some raw dough. I recommend poking an instant-read thermometer into the middle - the loaf is done at around 170-200°. If the top is getting too browned, cover it with a sheet of aluminum foil. After making four, mine were usually ready at the 40-45 minute baking mark.
The third time I made the dough the night before and refrigerated it. The next morning I cut the dough and shaped the loaf while it was still cold from the fridge. I think this helped make the dough easier to work with, plus it cut down on the waiting time in the morning!
Unmolding the cake the first time was a bit tricky, so the next time I lined the pan with parchment paper leaving some hanging over the sides so when the bread was cool enough, all I had to do was grab the paper and pull up the bread out of the pan – EASY!
And since most of you know by now my love affair with limes, I included as part of the zest combo in the sugar by adding 1 tablespoon. Ummmm, limon-y – YUM!

I also heard really good thing about the book where this recipe hails from: Baking for All Occasions by Flo Braker and if this is the preview of what's in there, you know what's on my shopping cart right now don't you?